Well it's almost Christmas and here is my families magnetic Christmas Countdown Calendar. (Honestly we have 2 one for each kid). I did a class for community education a few weeks ago with 5 kids and one adult making their own and there's were so much cuter than mine. The numbers were done using the heat emboss resist technique. Embossing on white paper with clear embossing powder and then choosing an ink color and a sponge to rub in the color of choice. Embellishing each number and attaching a magnet to the back.
1: stamped image of an ornament
2: Ice cycles made with Chrystal effects and prism glitter
3: self adhesive rhinestones on each corner
4: snowflake cut using cricut (close to my heart "Art Philosophy" cartrige)
5: badge button from oriental trading company
6: brown bow (showed technique to make perfect bow with a fork)
7: stocking cut using cricut (close to my heart "Art Philosophy" cartrige) and coloring pencils
8: Brad and ribbon scrap
9: 3-d snowman
10: 3-d poinsettia flower, cut using cricut (close to my heart "Art Philosophy" cartrige)
11: Stamped Happy Hollidays
12: badge button from oriental trading company
Pin It

Friday, December 9, 2011

Monday, August 15, 2011
CTMH Spotlight Blog Hop – Circle Cards
Welcome to the Spotlight Blog Hop! This month we are featuring circle cards using our fabulous new product from the just released Fall/Winter Idea Book!
If you came from Jena's Blog your on the right track.
My first card is something I had fun with playing with my new Cricut Art Philosophy Cartridge and my favorite colors. Here was how my scrap play day started.
1) New Product arrived in the mail!!!
2) Play with Cricut - cut a 5 inch Circle, OOOOH love that butterfly soooo pretty.
3) What colors should I use? - Love Gypsy, Smothie looks nice with it, and My favorite color of all time a hint of Juniper
4) What if I use that butterfly as a stencil and blend my favorite colors with a sponge (one at a time of course)
5) Take stencil off and WOW LOVE IT. now to add something to make it look like a card.
6) Use my favorite stamp to add a great verse Treasure Life D1306, add some fuzzy ribbon, some glitz, buttons, and had stitch around the edge.
My second card is for my son's first day of school and a different shape for a circle card.
The pattern was from WISHES book pg 129
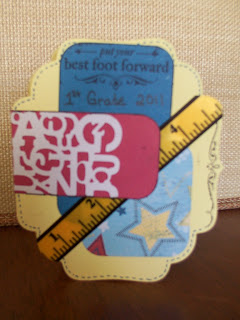 The white letters are from the cricut Art philosophy (Size 2) the stamped images are from Aug Stamp of the Month "Wicked" The paper is fanfare.
Now continue the circle and see what
If you came from Jena's Blog your on the right track.
My first card is something I had fun with playing with my new Cricut Art Philosophy Cartridge and my favorite colors. Here was how my scrap play day started.
1) New Product arrived in the mail!!!
2) Play with Cricut - cut a 5 inch Circle, OOOOH love that butterfly soooo pretty.
3) What colors should I use? - Love Gypsy, Smothie looks nice with it, and My favorite color of all time a hint of Juniper
4) What if I use that butterfly as a stencil and blend my favorite colors with a sponge (one at a time of course)
5) Take stencil off and WOW LOVE IT. now to add something to make it look like a card.
6) Use my favorite stamp to add a great verse Treasure Life D1306, add some fuzzy ribbon, some glitz, buttons, and had stitch around the edge.

My second card is for my son's first day of school and a different shape for a circle card.
The pattern was from WISHES book pg 129

Now continue the circle and see what
Luisa has created.
Monday, August 1, 2011
Circle Cards
To see the CTMH Spotlight Blog Hop – Circle Cards Go to http://rural-scrapbooker.blogspot.com/2011/08/ctmh-spotlight-blog-hop-circle-cards.html
These are also great circle cards and hope you enjoy looking at my Blog.


| This was the simplest card made. White circle card with a black circle in the middle. A corner of pattern paper and finish it with coordinating paper and a cute tag to mark the occasion. |
Thursday, July 21, 2011
Hot Grilling days

Tuesday, July 19, 2011
Cricut
Starting AUGUST 1st!!!!
Cricut® Art Philosophy Collection

Cricut® Cartridge Creativity
Cartridge & More
Bring your die-cuts to life with stamps and chipboard Dimensional Elements! When you purchase the Cricut Art Philosophy cartridge,** you’ll also receive three exclusive D-size stamp sets and three sets of Dimensional Elements designed to perfectly coordinate with images on the cartridge. That’s a retail value of over $120 US / $140 CAN for just for $99/$109.95! Stamp on your Cricut shapes; cover your Dimensional Elements with a Cricut shape; or cut, stamp, and then cover!

Complementary Stamp Images
Get Yours Starting August 1, 2011!
Talk to your Close To My Heart Independent Consultant to order your Cricut® Art Philosophy collection (Z1686) today. To find an Independent Consultant, click on the Consultant Locator on the Close To My Heart home page.
*Cricut® is a registered trademark of Provo Craft & Novelty, Inc. All rights reserved.
**The Cricut® Art Philosophy cartridge is sold as part of the Cricut® Art Philosophy Collection and is not available separately.
Numerous My Acrylix® stamp images in our Idea Book pair wonderfully with images on the Cricut Art Philosophy cartridge. When you see the Cricut icon or a stamp image outlined in red in the Idea Book, you will know there’s a matching shape on your Art Philosophy cartridge. Cut out the coordinating shape with your Cricut machine using the setting indicated on the stamp’s carrier sheet, then stamp your image on the base shape—quick and easy!
Monday, June 27, 2011
Happy 4th of July Birthday

Tuesday, June 21, 2011
Sympathy Cards

I wanted to make a card using my Card chatter sympathy D1476 stampset and a retired stampset that I've had forever. I stamped using White Daisy. The brown boarder is a craftboarder and thought it needed some type of ribbon but ribbon just didn't look right so I used some fuzzy string that I had.

Monday, June 13, 2011
4th of July layout

Thursday, June 9, 2011
Strawberry Shortcake - made from scraps!


Monday, June 6, 2011
Free 4 All -Studio J

I had posted studio J layout in the past but here they are again
To get yours free go to my website: http://reker.myctmh.com/ click on studio J
**Print it any where and any size you want and as many as you want
**Send it to family and friends via e-mail

**Make a memory Video for an upcoming anniversary (See my moms wedding photo's on my blog)

**Post it on facebook for all friends and family to see

http://rural-scrapbooker.blogspot.com/2010/11/studio-j-digital-scrapbooking.html
http://rural-scrapbooker.blogspot.com/2011/03/brenna-age-2-studio-j.html
http://rural-scrapbooker.blogspot.com/2011/03/old-fashioned.html
Saturday, May 28, 2011

My ladies will have the opportunity to do a little fun play time training in June and learn some new techniques. I'm an out of the box thinker so you will learn unique ways to use the products that you love.
Go to my website and sign up before this special is over (May 31!!!). and be part of the Rural Scrapbookers team: http://reker.myctmh.com/
Thursday, April 28, 2011
Sending sunshine!

Sending some sunshine today. It's been raining for about 2 weeks here and the farmers are getting a little antsy to get into the fields. I had so much fun using my new "Splendid Day" stampset (D1462) to make these cute cards. The best part is they are stamped on a card base and a few pieces on regular cardstock to give it some dimension.


Tuesday, April 19, 2011
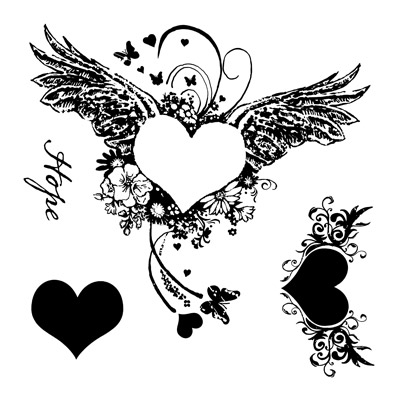
Rocking Thanks!

Time to use my scraps and this ROCKING stamp (A1118 Hope) is perfect to make some really fabulous thank you cards..

Friday, April 8, 2011
Blessed Stamp of April
During the month of April you can get “Blessed” stamp set from Close To My Heart.

I love the ease of making a multi colored bird or flower using the two-step stamping with this set.
Working with my scraps today. This 6x6 card used the bliss paper and sherbet colored rickrack. I used various colors of orange, white, and blue flowers. Those cute little buttons were made from Stamp’n Up button embosolitt (So much fun making those with my 2 year old) a few bitty sparkles and I’m done


Wednesday, April 6, 2011
10 card cutting guide
 |
| ONLY CUT OUT FOR #1-10 |
 |
| CUT ALL |
 |
| ONLY CUT OUT FOR #1-10 |


 |
| Cards 5 , 9, 10 |
 |
| Cards 1, 2, 6, 7 |
 |
| Cards 3, 4, 5, 8 |


Saturday, March 26, 2011
Help Japan

From NOW until April 30, purchase the exclusive, “Hope for Japan” A-size stamp set for the special price of only $5 and
Close To My Heart will donate 100% of the profits to the American Red Cross’ efforts in Japan.
This beautifully designed stamp set reminds us of how our hearts are hopeful for those who are in need

Close To My Heart will donate 100% of the profits to the American Red Cross’ efforts in Japan.
This beautifully designed stamp set reminds us of how our hearts are hopeful for those who are in need
Monday, March 21, 2011
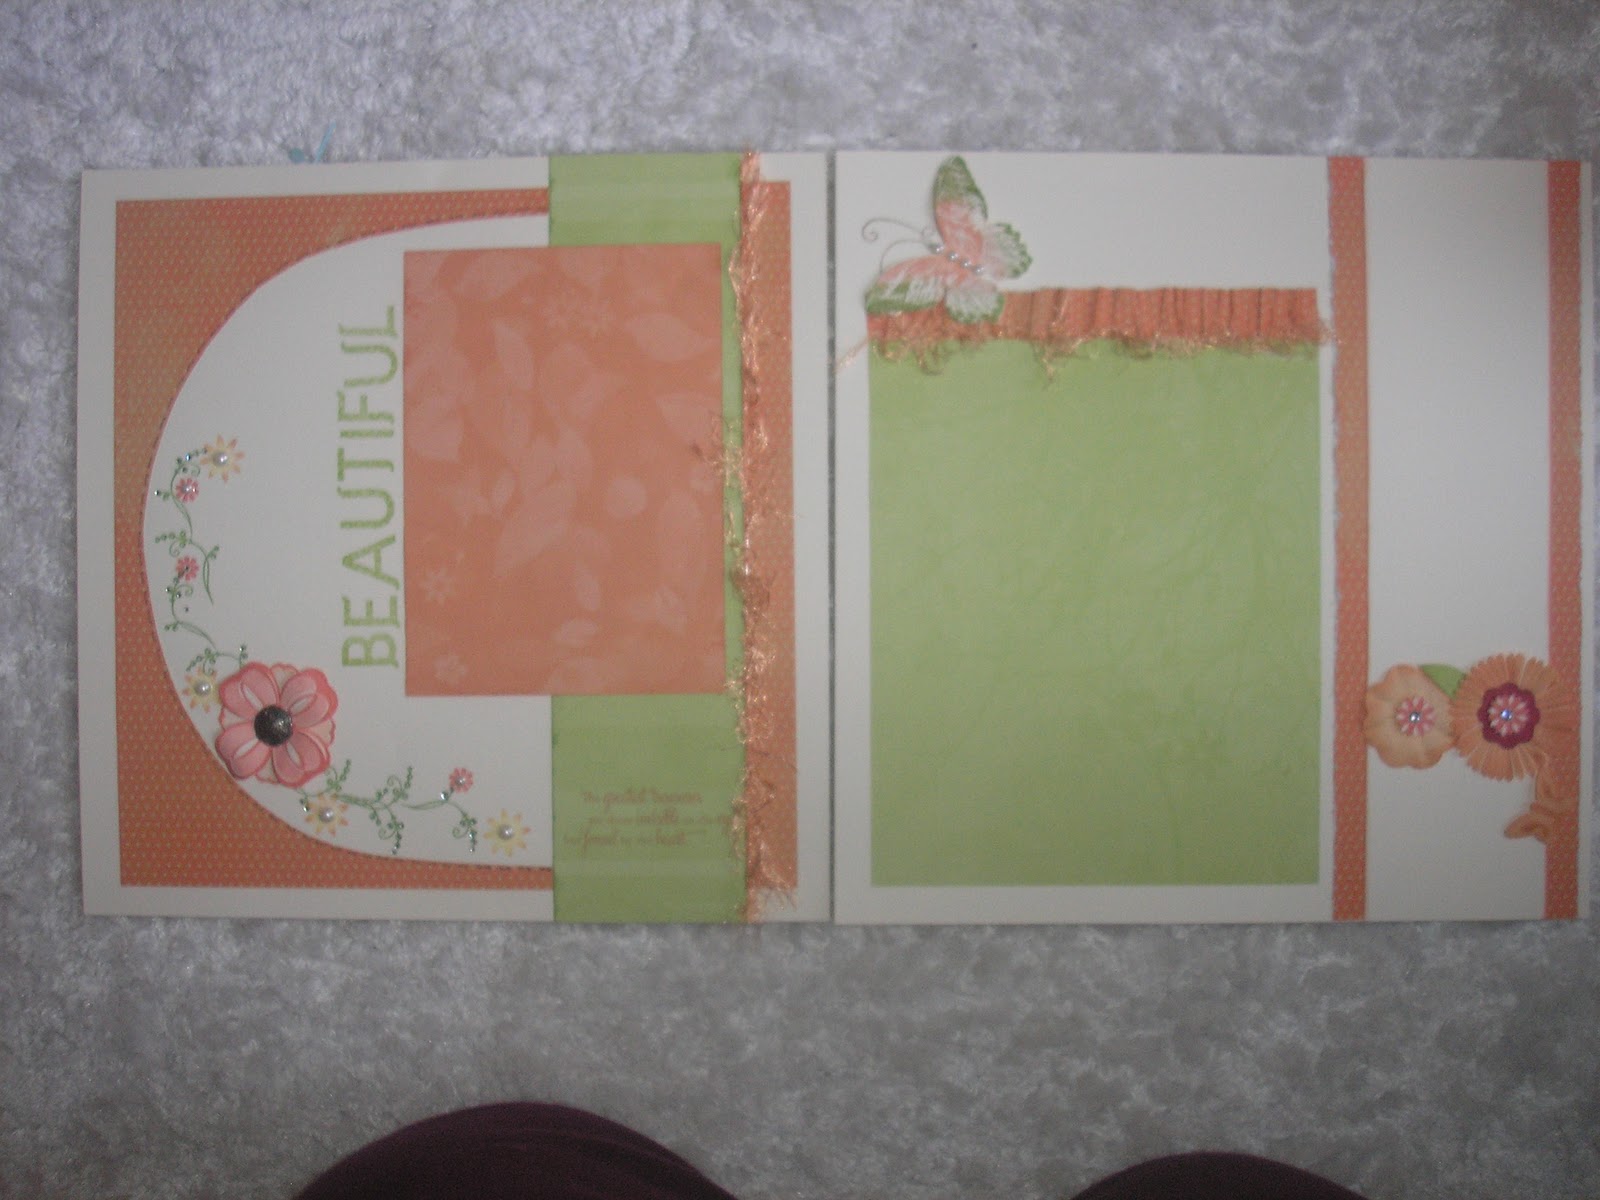
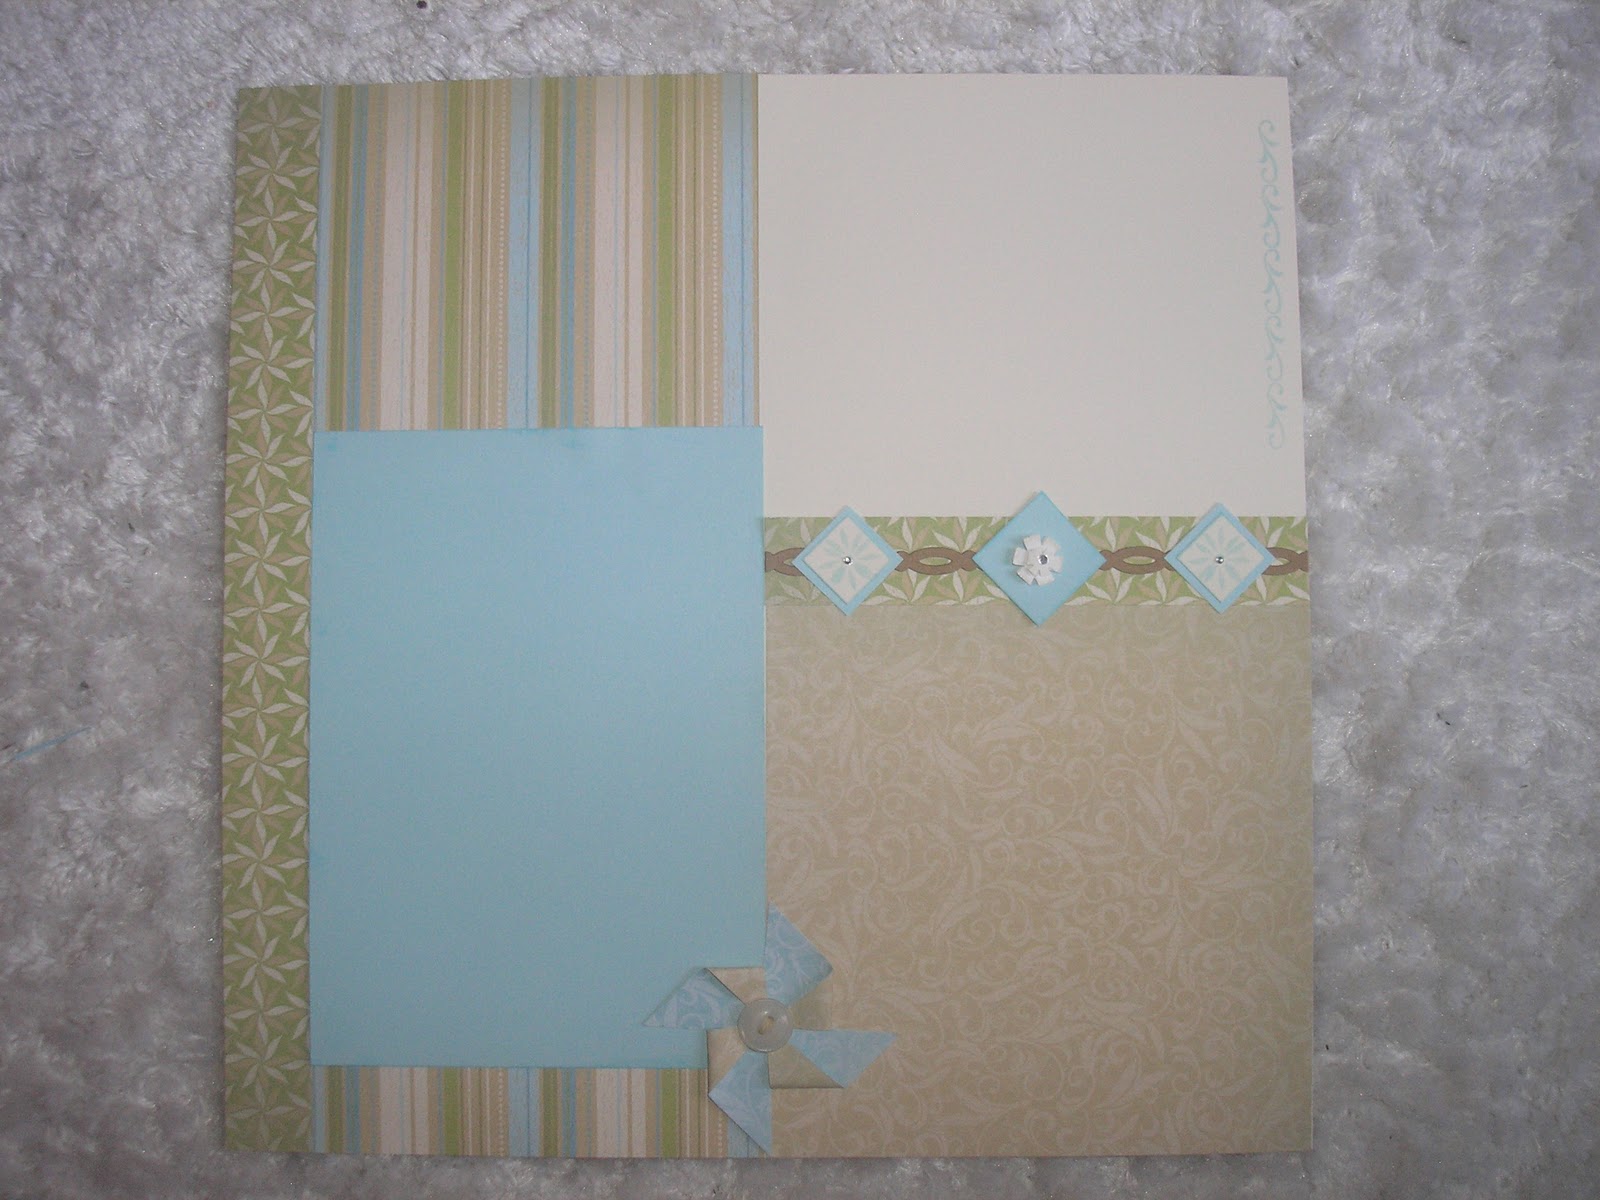
Sopia Workshop

Workshop cutting guide to make a 2 page layout and the pictured cards with step by step instructions.
Clear Acrylic Stamp set
Pink button assortment
Waxy Flax
and a level 2 paper pack with 12 double sided patterned papers and 6 colored cardstock and 4 white cardstock.
Thursday, March 17, 2011


Monday, March 14, 2011
Miracle
This is the 2nd layout that I will be doing with a group of fabulous ladies this Thursday.
We are getting ready for some warm spring pictures.


We are getting ready for some warm spring pictures.


Monday, March 7, 2011
Card template
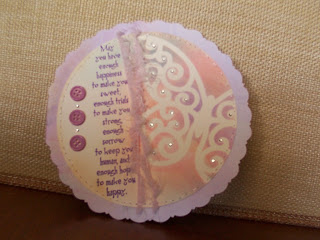
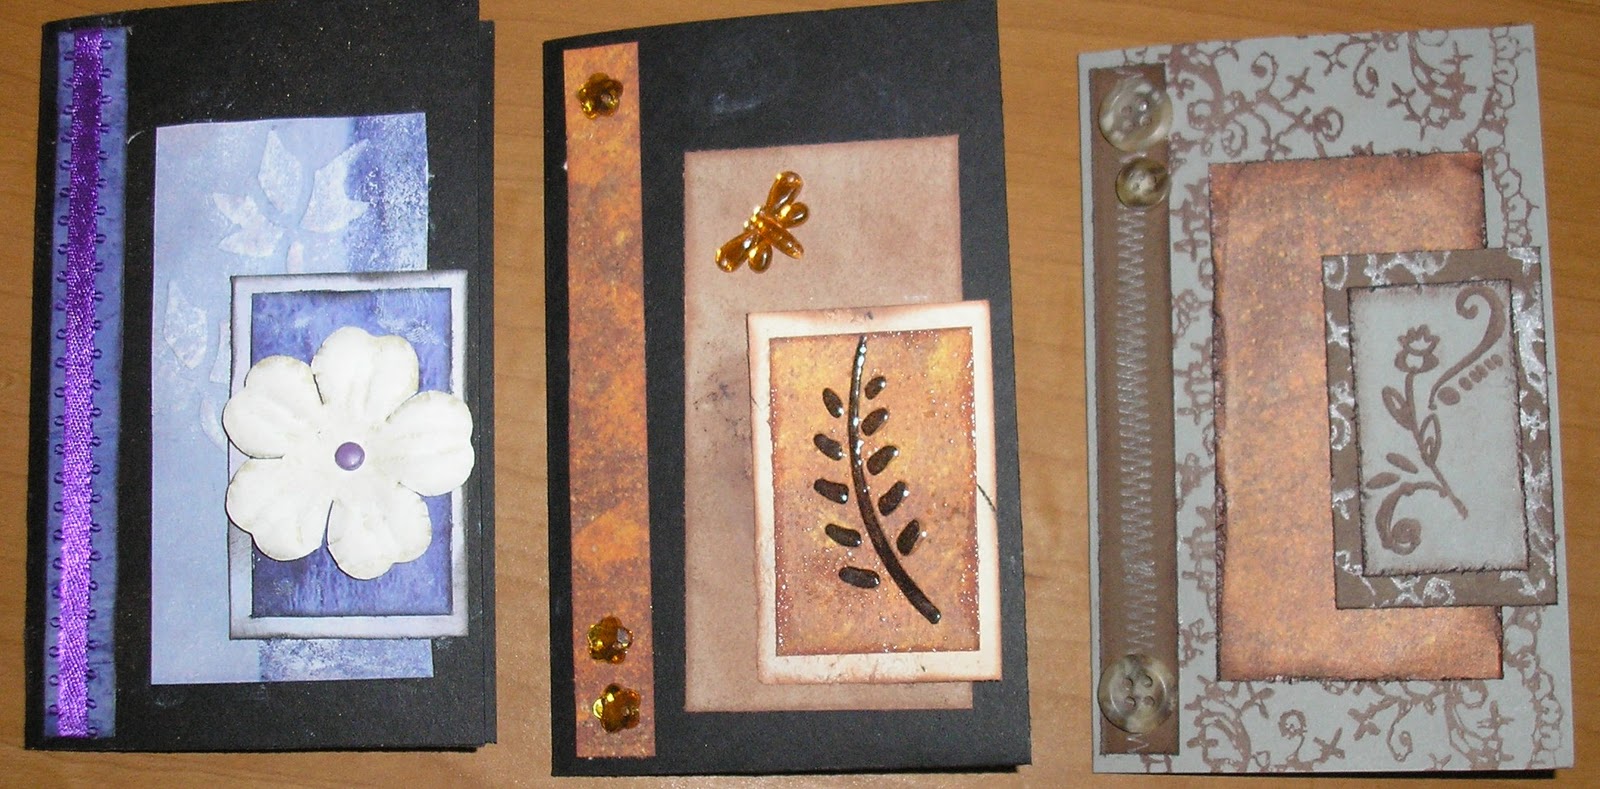
So this was fun. It's actually the same card. Different colors a little different stamping and TaDah. 3 different cards from the same design.
 I did a few different embossing techniques too. The first is clear embossed on the background and then sponged purple ink to give a tie dye look. The middle is blending the orange and brown colors to get the glow looking paper and embossed leaf pattern.
Subscribe to:
Posts (Atom)